
Revision. Some writers love it, some hate it. I fall into the first camp. Give me a rough manuscript over a blank page any day.
But I have a very visual brain and I tend to get overwhelmed by large tasks pretty easily, so my setup is mostly designed to break everything down into bite-sized pieces I can clearly see.
So today I’m going to break down my process, A to Z.
The Zero Draft
I write quick and very messy first drafts. I don’t even call them first drafts. I like the terms vomit draft and zero draft, because that’s what they feel like. I usually have a vague idea of where I’m headed and some goalposts to hit along the way, but I’m mostly a pantser/discovery writer. My zero draft will include entire chapters summarized with a sentence or two, bracketed [GO BACK AND CHANGE THIS IN CHAPTER 3] notes, and all sorts of other chaos.
Essentially, my first draft of the story is a long outline with a handful of scenes fleshed out. They usually clock in around 30,000-50,000 words. This gives me my initial basic plot structure.
The Reverse Outline
After I have a zero draft, I create a “reverse outline” document and do a quick skim back through the manuscript, typing out a bulleted sentence or two for each scene summarizing the main points.
Then I copy those onto index cards. I color-code mine by the basic drive of each scene. So for example, I’ll put main-plot scenes on yellow cards, character-development scenes on blue, romantic subplot scenes on pink, etc. If a scene does multiple things (which it really should), I just pick the one I feel is most prominent.
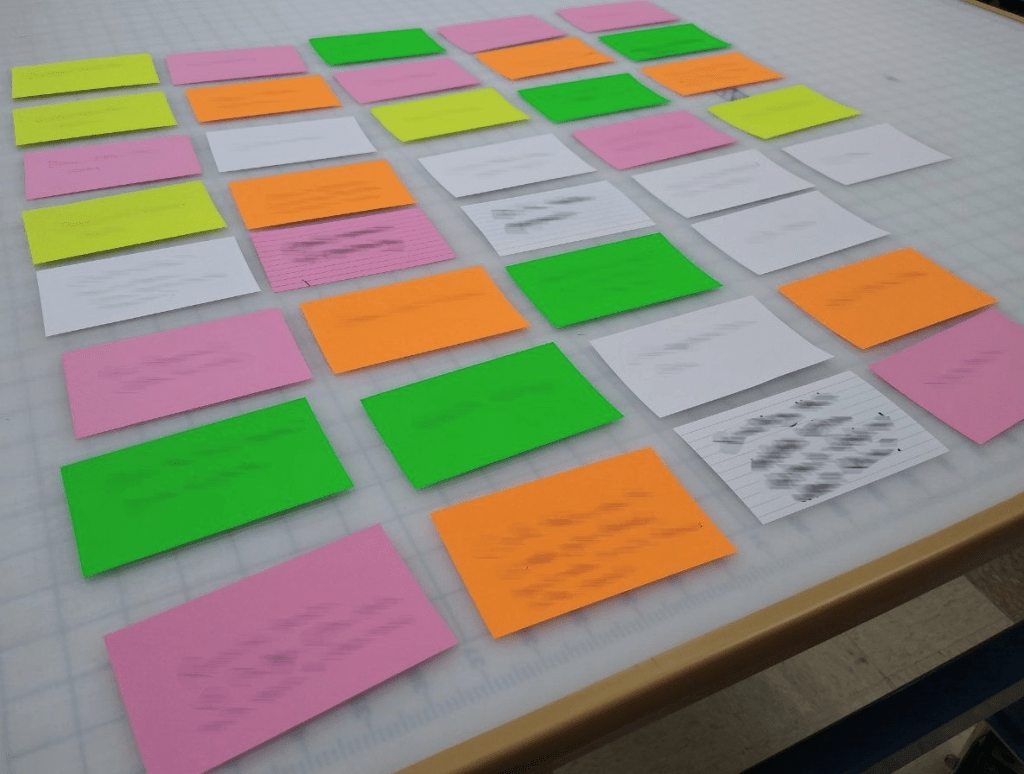
Then I lay them all out in order. Now I can see the structure of the book more visually. I can also see when I have four romance-subplot scenes right together without moving the main plot forward.
Shuffle time! This is where I start fiddling with the structure. I swap scenes around or even mash some of them together. Scenes get tossed out if they’re not working, and I’ll scribble out new cards with new scene ideas and slip them in.
I also analyze where major plot points fall, like the inciting incident, the midpoint turn, and the darkest moment.
Once I have a new structure, I number all the cards, stack them back together, and build a more concrete outline. Out of this comes…
The Rewrite / The Real First Draft
Yep. I start over. Sorta. From here, I use the new outline to structure a Scrivener document and start filling in scenes. Usually I can pull about 25-35k from the zero draft with some finessing, but the rest is all fleshed out and written at this point. This is the longest part of the process for me.
Another Reverse Outline
After I have a solid first draft, I do another reverse outline. This is just a quick look at my plot structure to make sure I’m happy with it. If I don’t like the structure, I go back to the index cards. If it looks good, I move on to the next step…
Quick Line Edit
This is just a once-over pass to make sure it reads cleanly and to pick out any little continuity errors or minor plot holes. (Big ones should hopefully have been fixed by now). I like to do this by hand, printing out the manuscript in a different font than I use on-screen, and marking it up with a colorful pen, then transferring those changes to Scrivener.
You may prefer to do this entirely digitally, but I still recommend changing the font and the margins so it looks different. You’ll catch more that way, I promise.
Critique Partners
Then it’s off to a handful of my most trusted critique partners – other writers who can do a deep analysis of things like characterization, dialogue, structure, prose, etc. At this point, I usually just ask for a brief edit letter rather than a commented document, unless the CP is more comfortable doing the latter.
Analyzing CP Notes
Then I go through all of the CPs’ notes. With each edit letter, I take a sheet of notebook paper and hand-write a bulleted list (I like lists, ok) of each thing that needs fixed. Whether that’s a big overall thing like “this character’s voice was inconsistent throughout”, or a small thing such as “I noticed a wrong name in Chapter 12”.
Then I go through the list and mark out the ones I disagree with. Sometimes that happens, since reading can be subjective. With the rest, it’s back to…
More Cards!
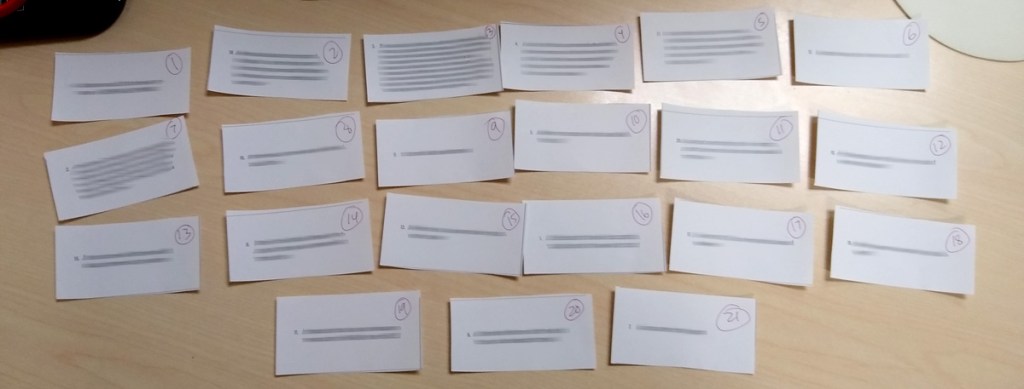
Then I make cards with each action item listed. In the example above, I typed them out and printed them, but I usually just scribble them on index cards again.
I’ll arrange them in order from the biggest overhauls to the tiniest changes. Then I number those, with 1 being the most major revision. Usually those are things that I’ll have to change throughout, while number 20 is “she took off her shoes twice in Chapter 8”.
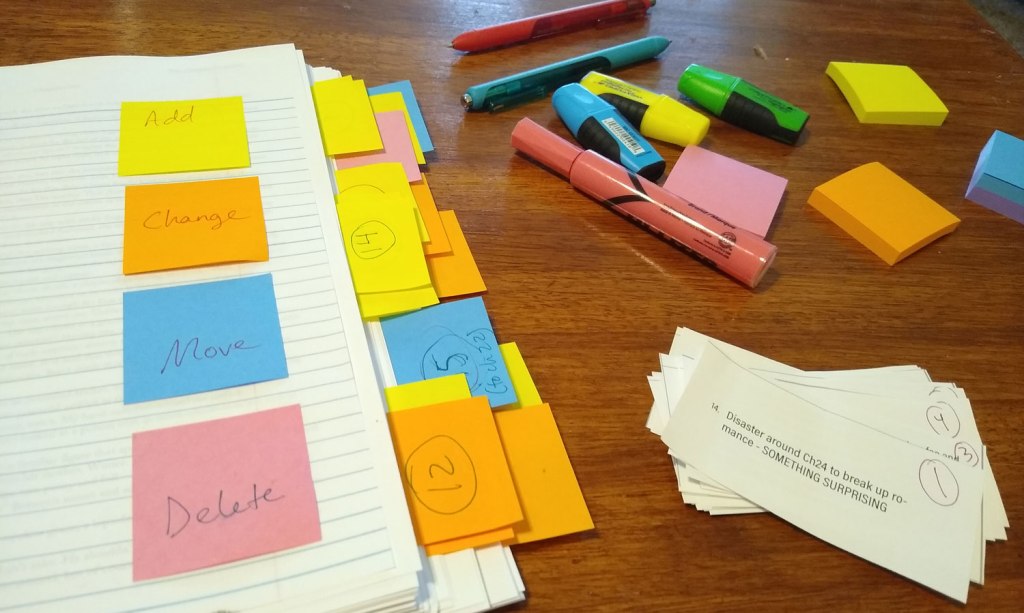
Getting hands-on with office supplies.
Time to get out the sticky notes and highlighters. I print off a copy of my manuscript (I like to use a condensed font and single-spacing for this draft, to save paper).
For each revision card, I decide if it’s one of the following:
- Adding something
- Removing something
- Changing/Rewriting a scene
- Moving a scene around in the manuscript
Then I assign each of those attributes to a sticky-note color. I have to make a key so I can remember:
For each card, I find the spot in the manuscript that I need to make that change. I write the number on the correct color of sticky note and stick it on that page. I also highlight the spot I need to add something, or the section that needs to be deleted/changed/moved.
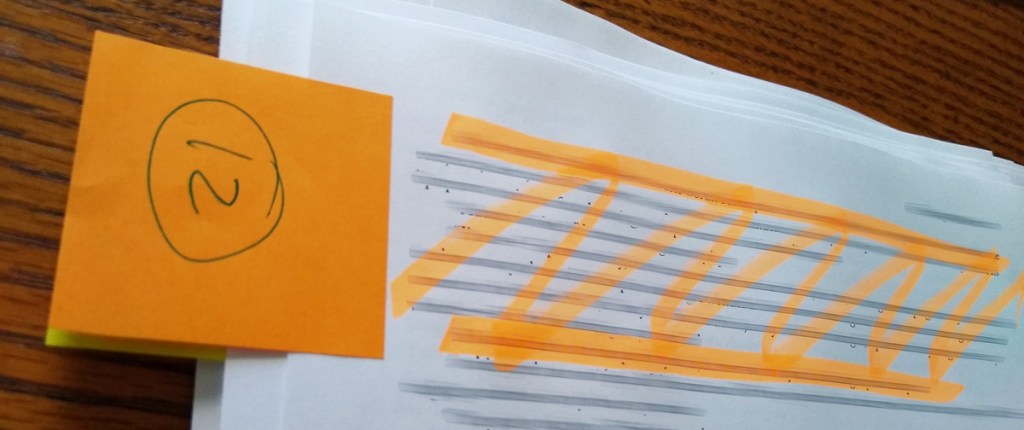
Some revisions are all throughout the manuscript, such as “add more setting descriptions”. I set those in a separate pile for now.
Once I have the post-it notes set up, I start with the lowest number (the biggest change) in the sticky-note card stack and go through making the revisions one-by-one. Sometimes this involves a little back-and-forth to keep things consistent as I make changes.
Clean-up Pass
Next, I do one more thorough pass through the manuscript. I will look for any inconsistencies created by the revision round and clean those up, as well as smoothing out any transitions between new or deleted scenes.
This is also where the “overarching changes” pile of note cards comes in. I set those next to my computer in clear view (sometimes I transfer them to sticky notes and actually stick them to the side of my monitor) and keep those in mind as I do this final pass, editing those things as needed.
Betas
Then it’s off to beta readers! These are fresh eyes, people who weren’t in the initial critique-partner round. When possible, I like to use readers of my genre who aren’t also writers, as they see things a bit differently than writers do.
Hopefully (fingers crossed) they won’t find any gigantic issues. At this point, I go back through the make-a-list and sticky-note process to correct anything the beta readers noticed.
Final Polish
I do one more line-editing read-through at this point, then if I’m happy with it, it’s off to my editor (for self-pub works) or querying (for traditional publishing). I may have to repeat some of these steps with the editor, if they catch something the CPs and betas missed, but usually it’s just overall cleanup.
And there you have it! My process, start to finish.
